


Your Everyday Lip Liner for Clean Lines and a Polished Finish Polished Lips Made Easy
Your Everyday Lip Liner for Clean Lines and a Polished Finish Polished Lips Made Easy


Couldn't load pickup availability

Your Everyday Lip Liner for Clean Lines and a Polished Finish Polished Lips Made Easy
Define • Contour • Fill
Your lip shape, only more defined
360 Contour Lip Liner pairs a fine, sharpenable tip with a smooth, buildable texture, so you can trace the natural lip line, softly reshape the edges or create an all-over base for your favorite lip color.

Why it belongs in your makeup bag
Reach the Cupid's bow and corners without creating a bulky edge.
Glides evenly for outlining, blending or full-lip color.
Use a light hand for a natural finish or layer for stronger contrast.
A versatile mix of taupe, pink, red, cocoa and brown tones.

One pencil, three ways to wear it
- Natural definition: trace directly along your natural lip border, then soften the inner edge with a fingertip or lip brush.
- Contoured look: add slightly deeper definition at the outer corners and beneath the center of the lower lip, then blend inward.
- All-over base: outline first, then fill the lips with the side of the pencil before applying lipstick or gloss.


How to create a balanced outline
- Start with clean, dry lips. Lightly sharpen the pencil if you want extra precision.
- Mark the Cupid's bow, then add a short line at the center of the lower lip.
- Work from the corners toward the center using short, controlled strokes.
- Check both sides, soften any hard edges, then fill or layer your chosen lip product.

Find your shade direction
Soft neutrals: Taupe, Brown and Mauve Pink for understated everyday definition.
Rich browns: Deep Brown, Cocoa and Walnut for deeper contour and dimensional nude looks.
Statement tones: Cherry Red, Reddish Brown, Crimson and Lavender when you want more visible color.
Screen settings and natural lip tone can affect how a shade appears. Use the product images as a guide.


Small details that improve the finish
- Use short strokes instead of drawing one continuous line.
- Warm the tip briefly on the back of your clean hand if the room is cool.
- Blend before layering lipstick to avoid a visible ring around the lips.
- Replace the cap after use and store away from direct heat.

Frequently asked questions
Can I wear it without lipstick?
Yes. Outline and blend inward for a soft contour, or fill the lips for a matte pencil look.
How do I sharpen it?
Use a clean standard cosmetic pencil sharpener and turn gently to maintain the fine tip.
How do I get a fuller-looking result?
Keep the line close to your natural border, add subtle emphasis at the Cupid's bow and center of the lower lip, and blend the inner edge.
Is it vegan and cruelty-free?
Yes. The product is described as vegan and cruelty-free.


The muted brown shade paired well with several nude lipsticks. The line stayed neat through coffee, though I touched up after lunch. That suited the way I normally get ready.
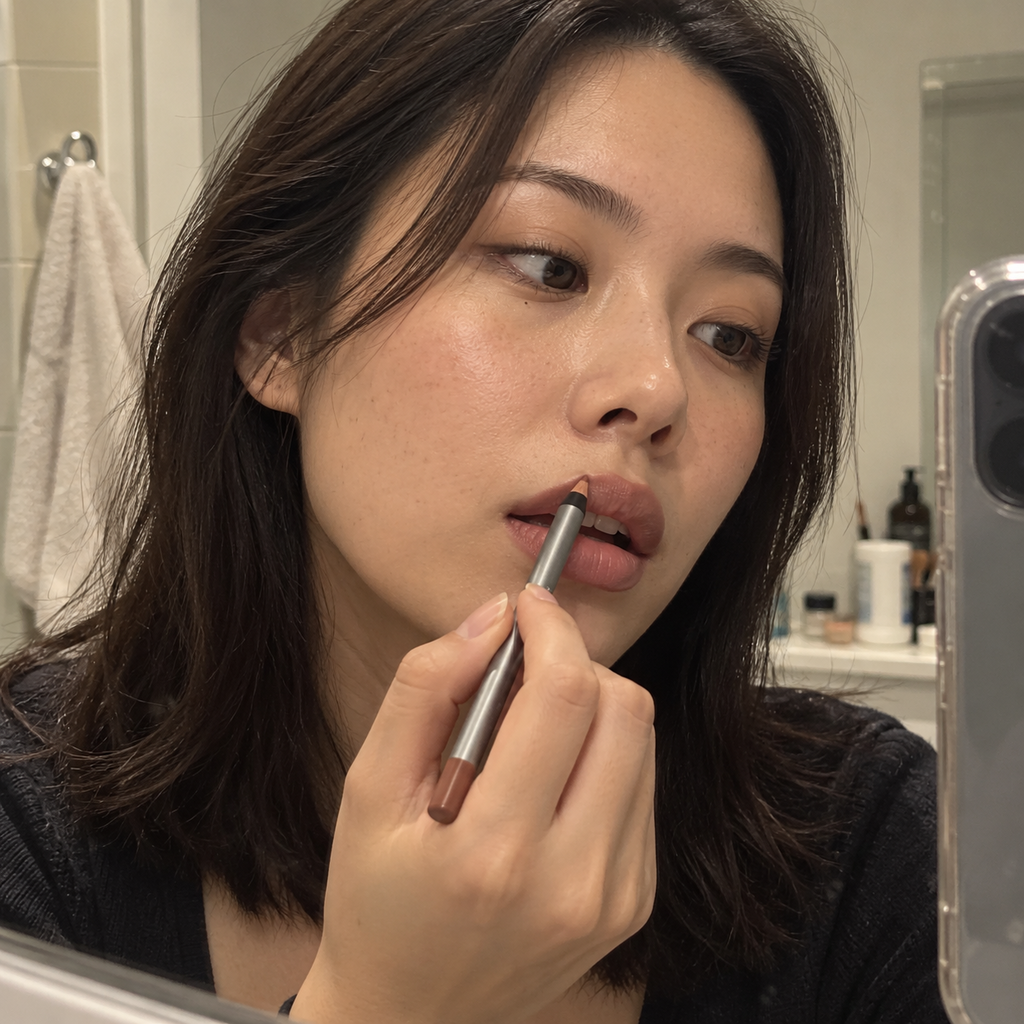
I like wearing it alone with a clear gloss on top. It gave my lipstick a cleaner shape without looking overdrawn. The color and control make it useful beyond one makeup style. The process felt manageable from start to finish.
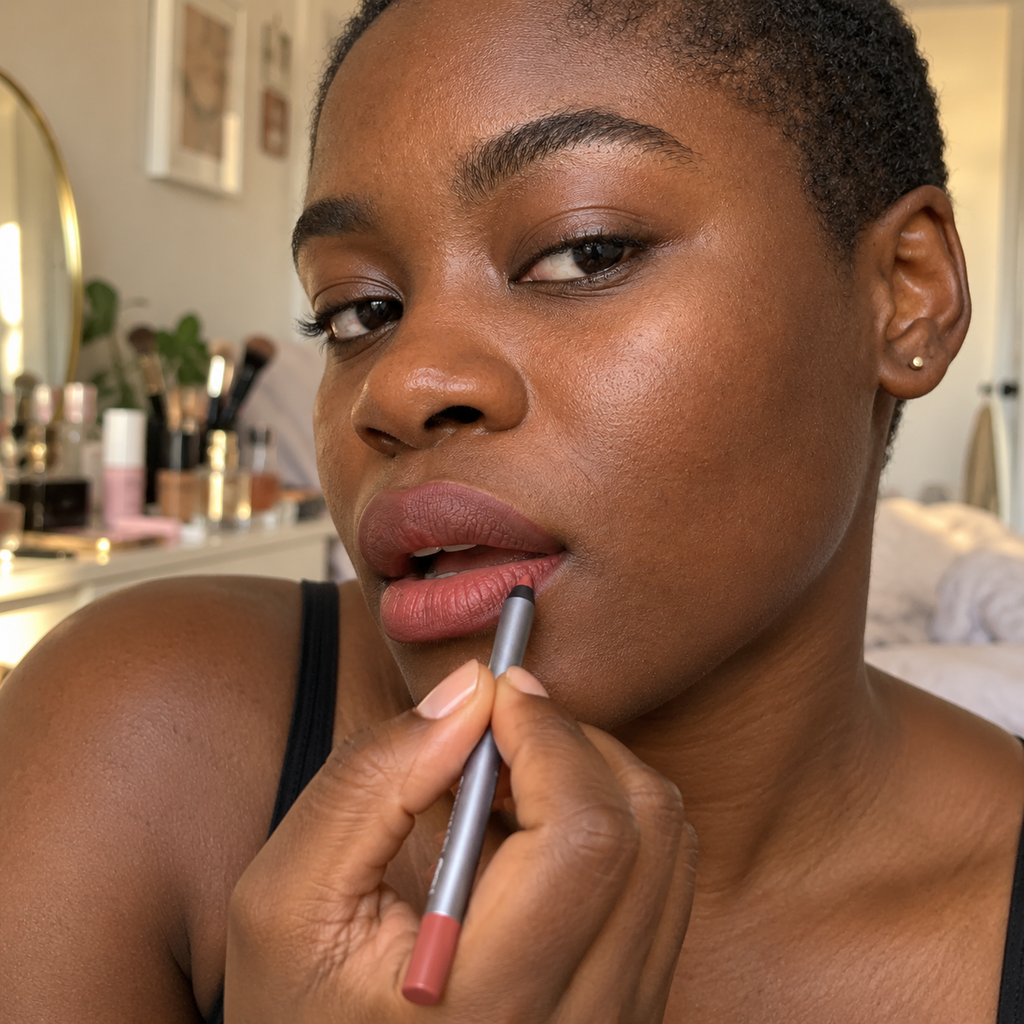
The texture showed real lip lines rather than looking artificially flat. It has earned a regular place in my makeup bag. I appreciated that the routine stayed uncomplicated.
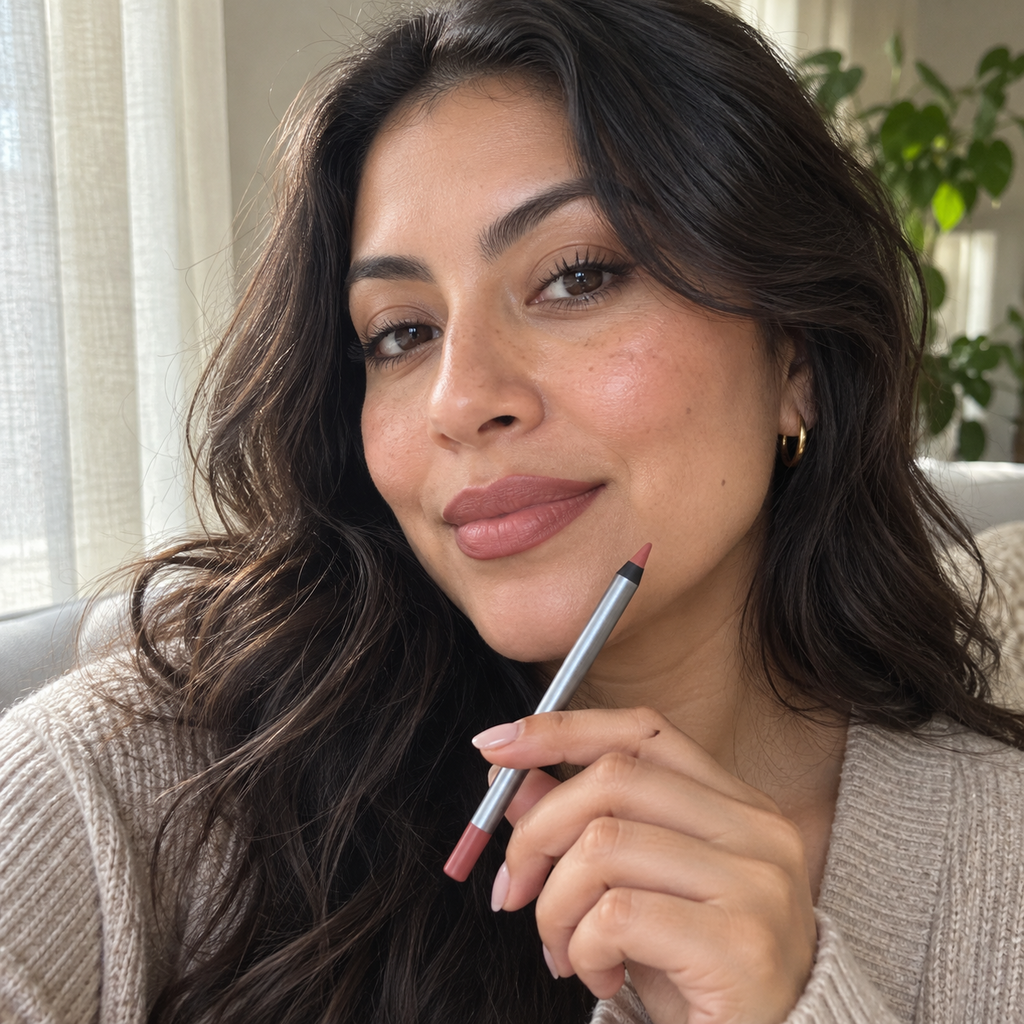
I outlined the corners first, then connected the line across the center. I would pick another shade from the range. It was easy to understand after the first use.
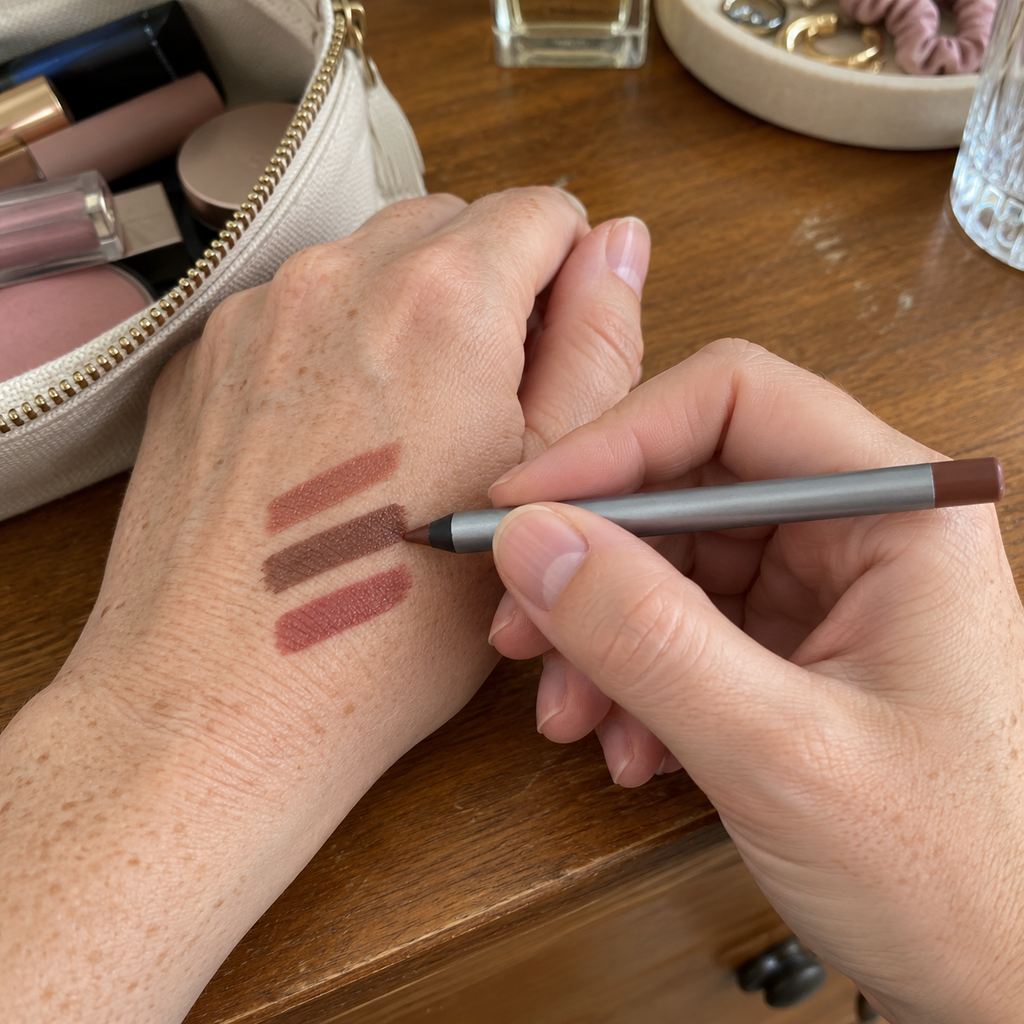
The pencil is slim enough to keep in a small makeup pouch. The color payoff was easy to control with pressure. The result looked best in ordinary daylight.
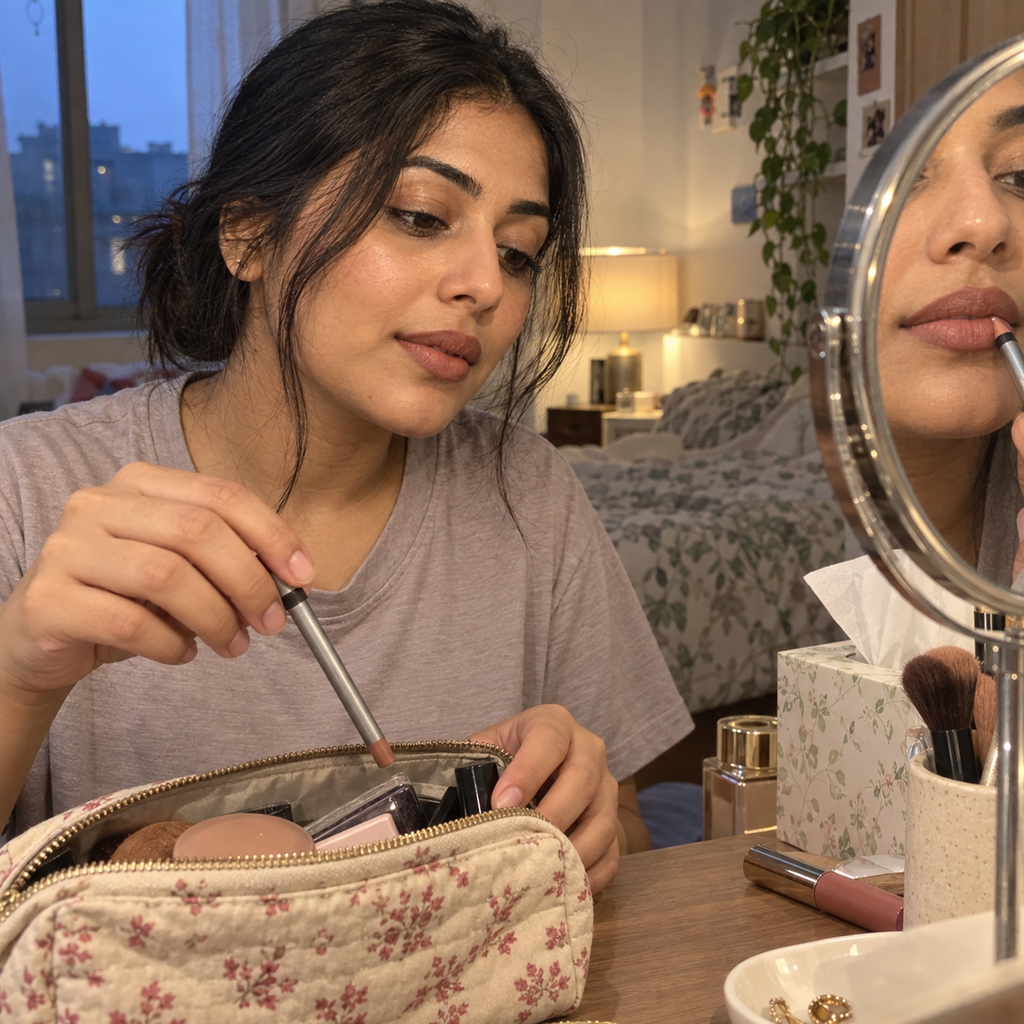
I used short strokes instead of drawing one hard line. A quick sharpen restored the fine point I prefer. Short strokes gave me the most natural result. A careful, light-handed approach worked well for me.
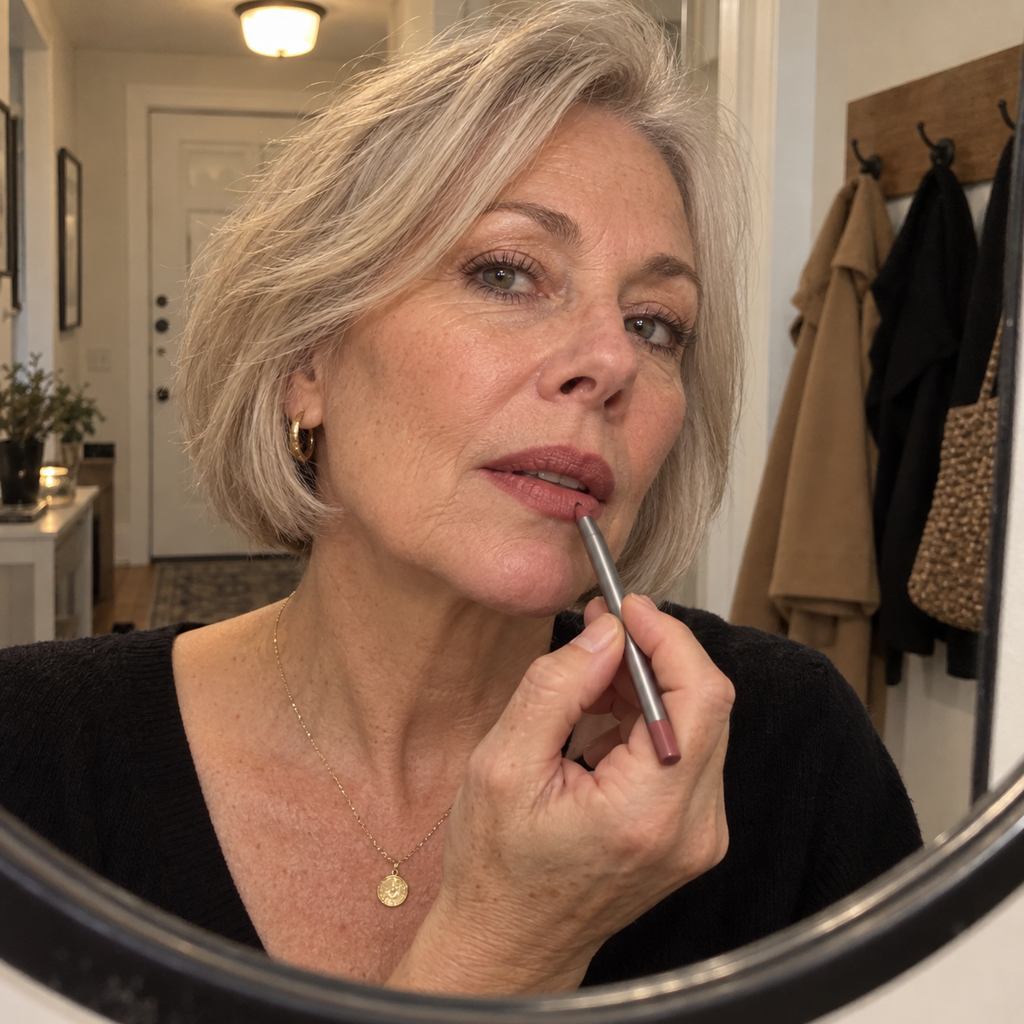
The formula blended before setting, which made small corrections easy. It works equally well with gloss or lipstick. I was pleased with how tidy the whole process felt.
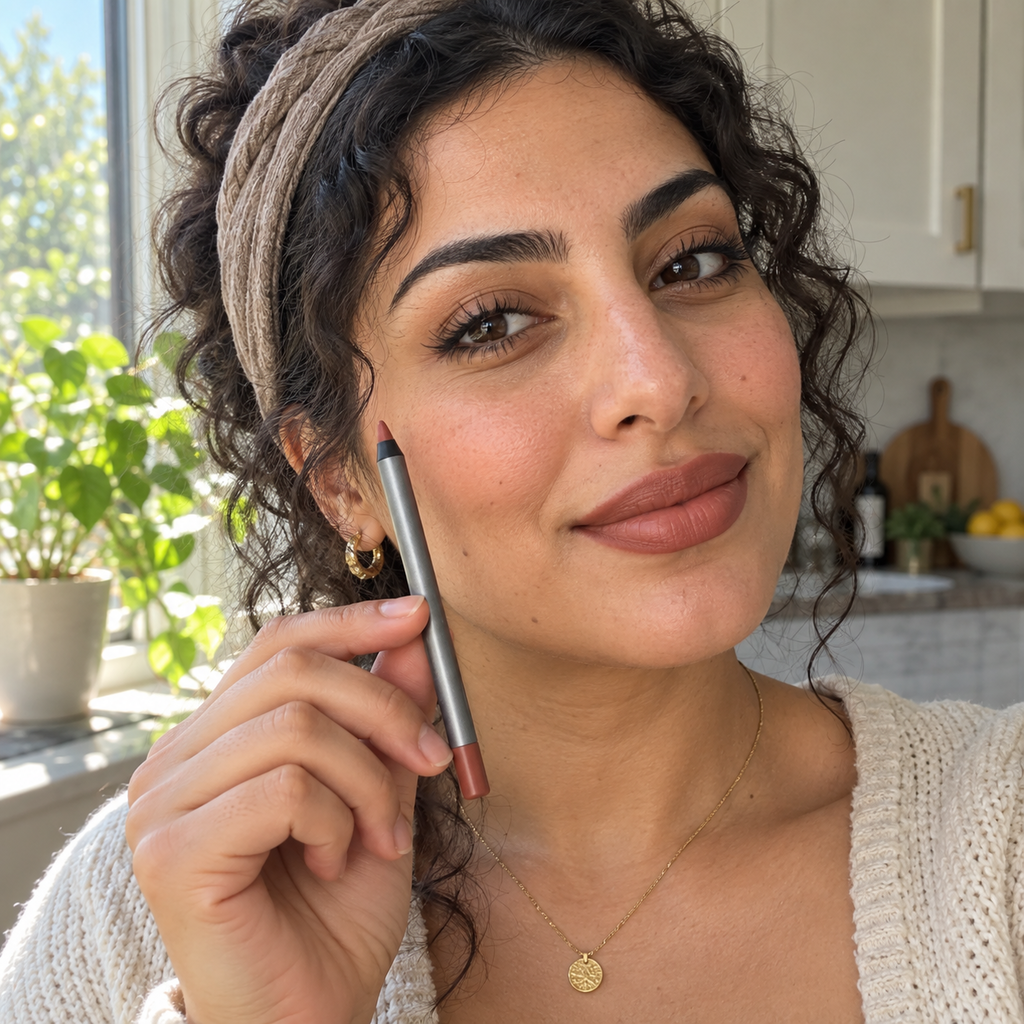
I filled in my whole lip before adding a little balm. Overall, it is straightforward, versatile, and easy to blend. It fit naturally alongside the products I already use.
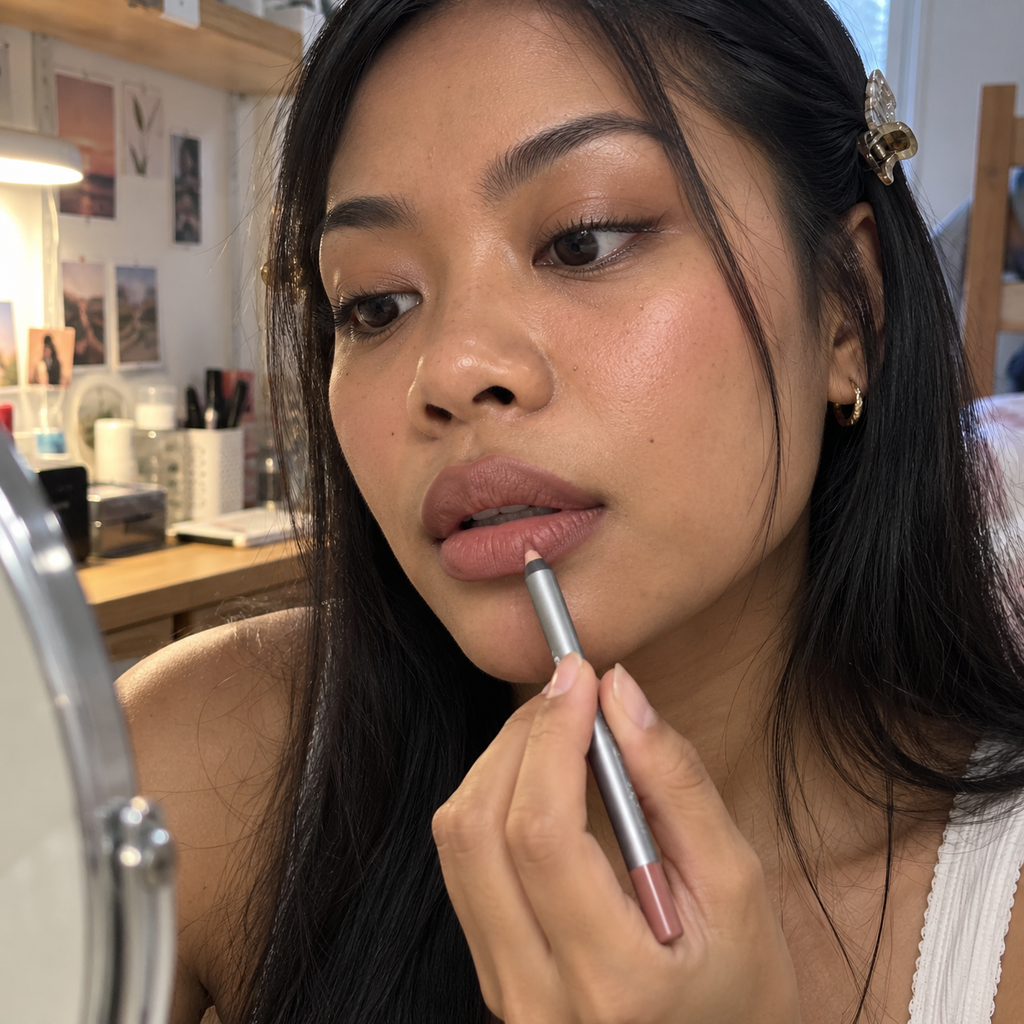
The color looked balanced in daylight and indoor lighting. The tip held its shape well through both lips. The practical design made the biggest difference for me.
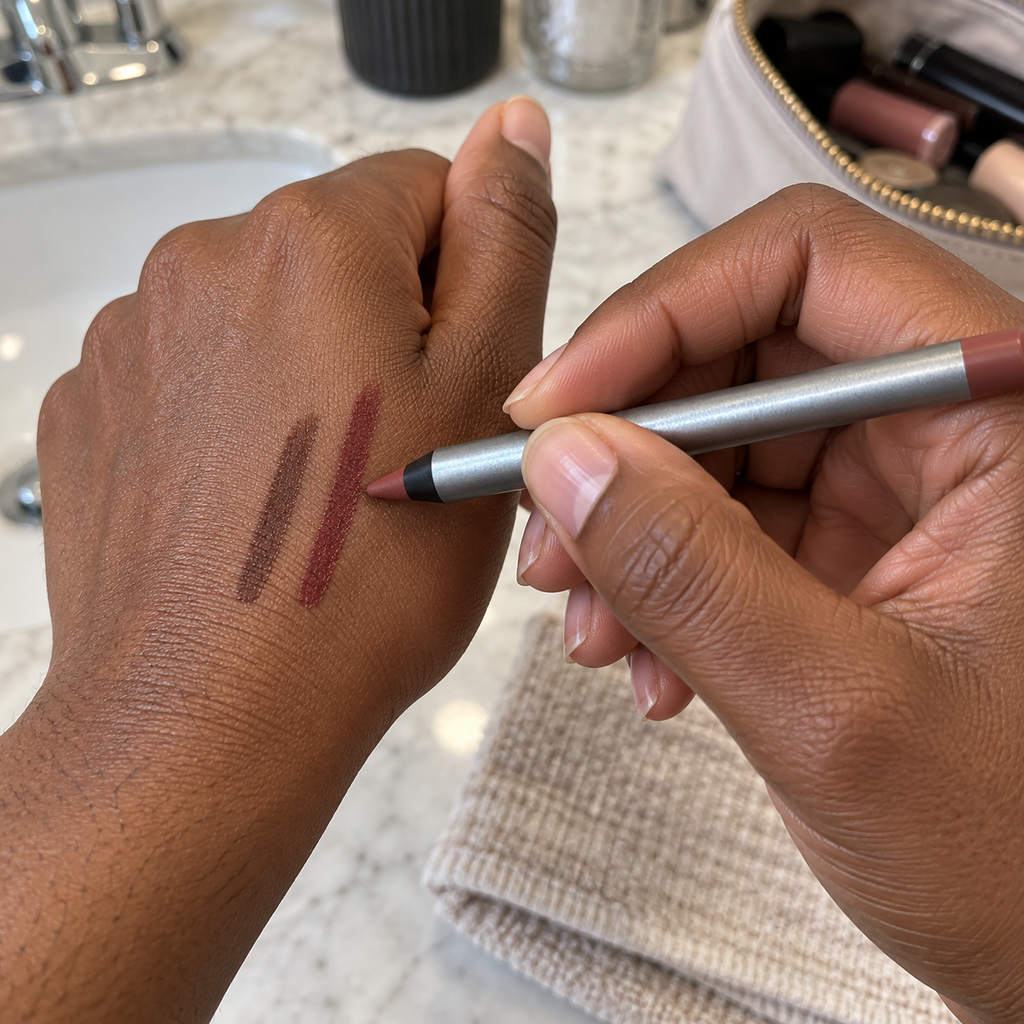
I traced just outside my natural lip line and softened the edge with a fingertip. I could create both a crisp edge and a softer blurred look. Four stars because I needed one small touch-up after eating. I would take the same approach on my next use.
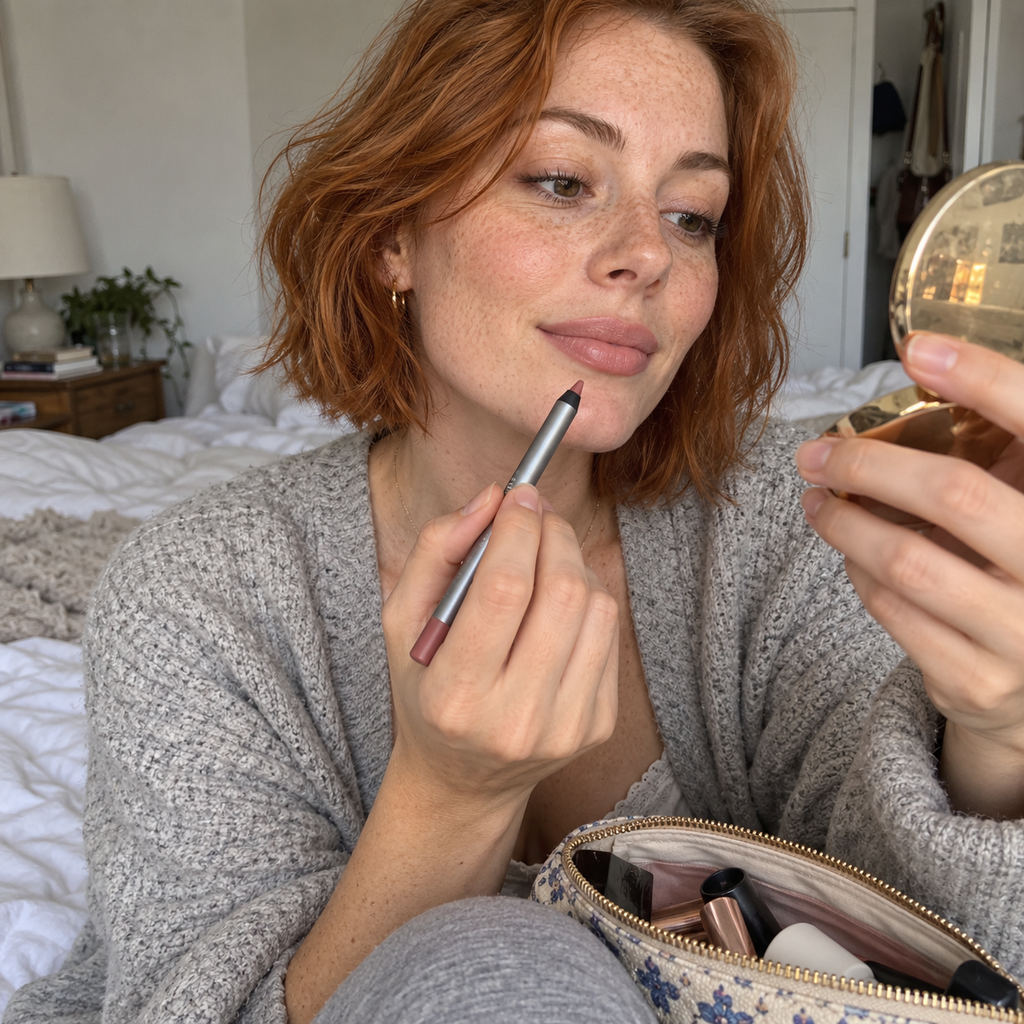
I used the red shade under lipstick and it helped keep the edge tidy. The color and control make it useful beyond one makeup style. I found it easier when I worked slowly and in sections.
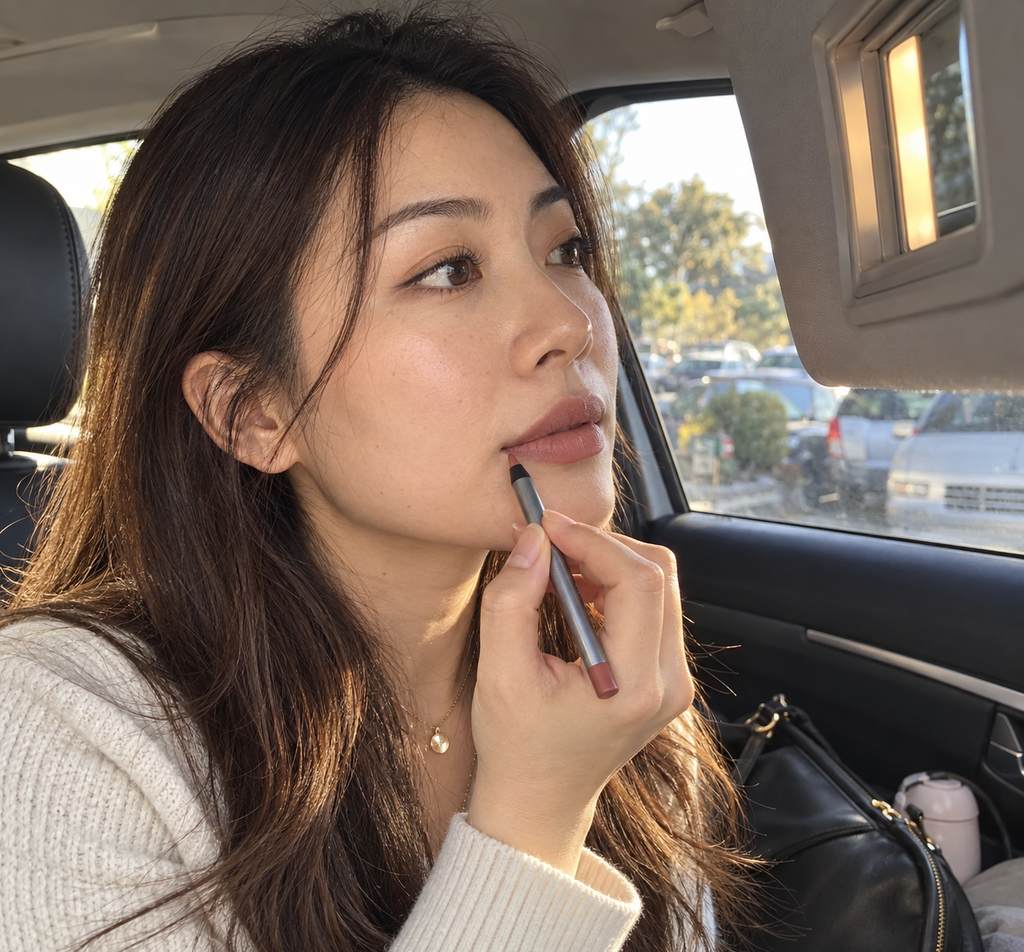
I like wearing it alone with a clear gloss on top. It gave my lipstick a cleaner shape without looking overdrawn. I would pick another shade from the range. It performed consistently during my normal routine.
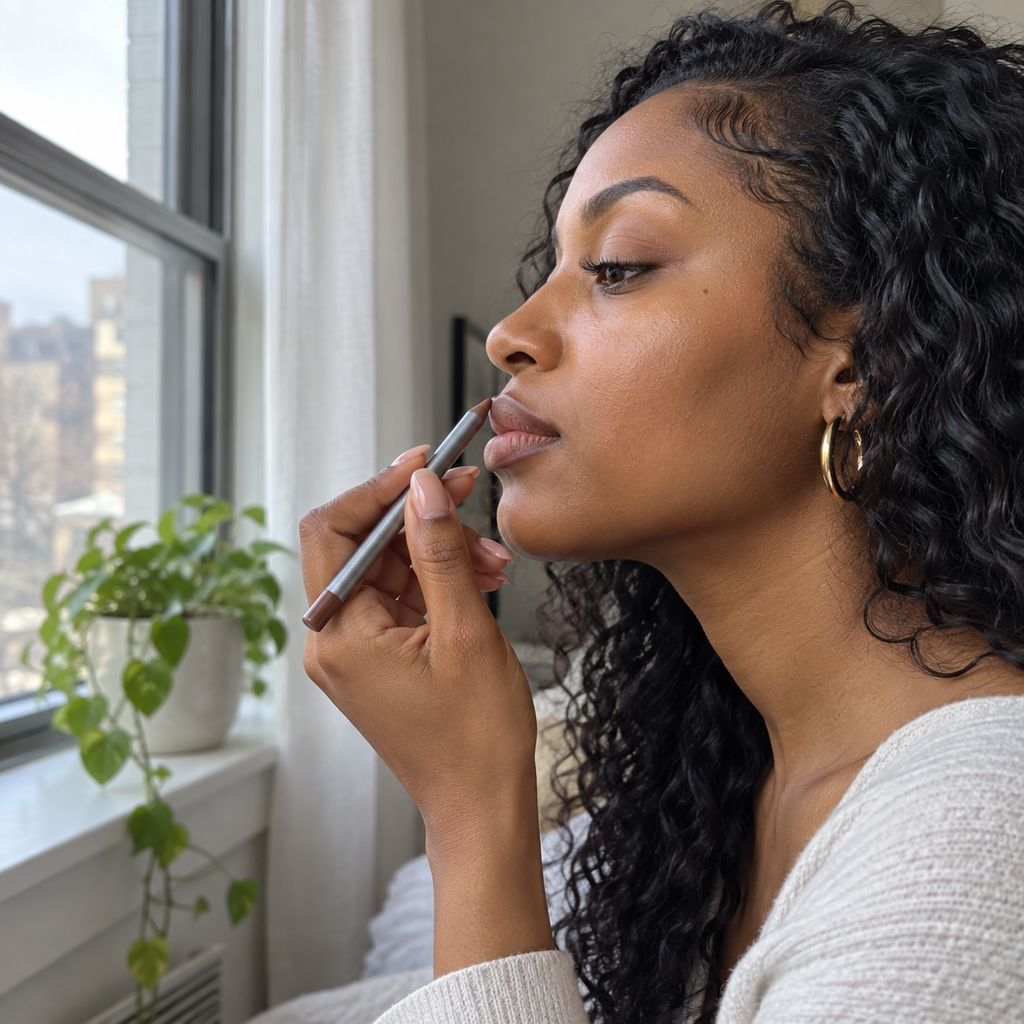
The texture showed real lip lines rather than looking artificially flat. The finish looked polished without feeling overly done. I liked being able to control each step myself.
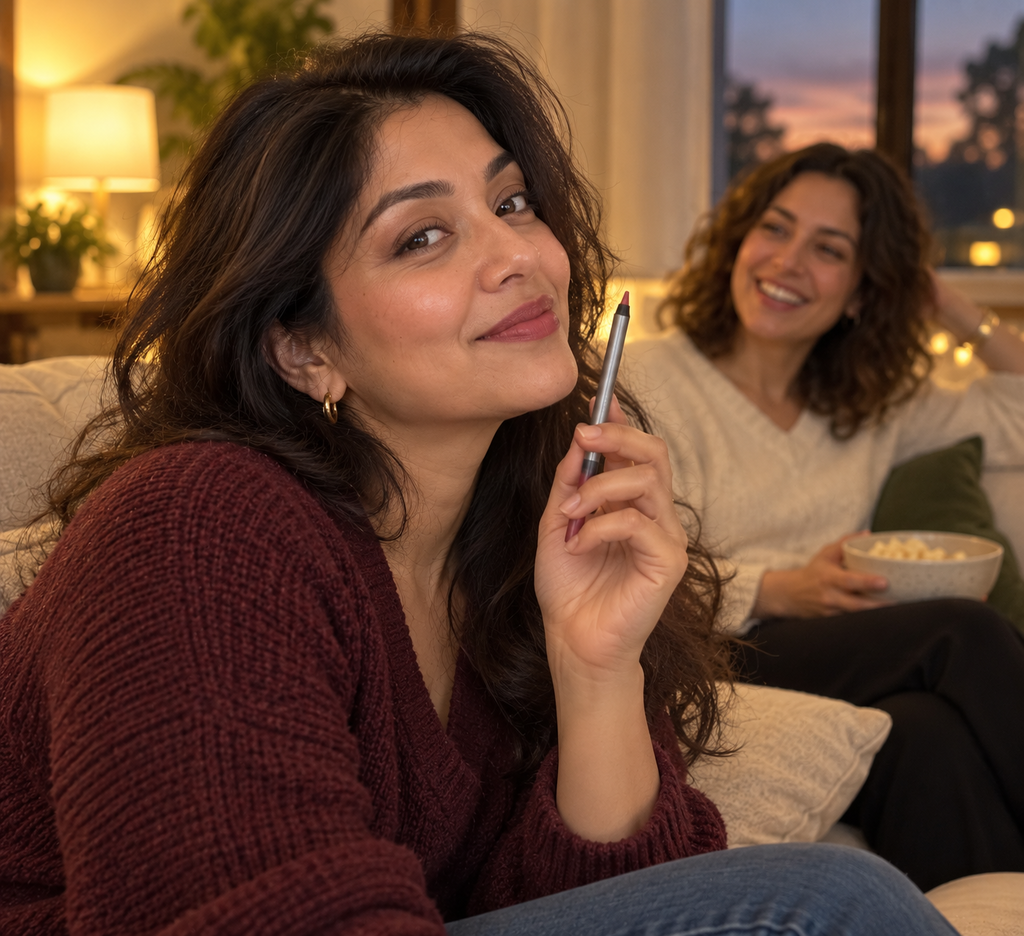
I outlined the corners first, then connected the line across the center. Short strokes gave me the most natural result. The finish looked believable rather than overdone.
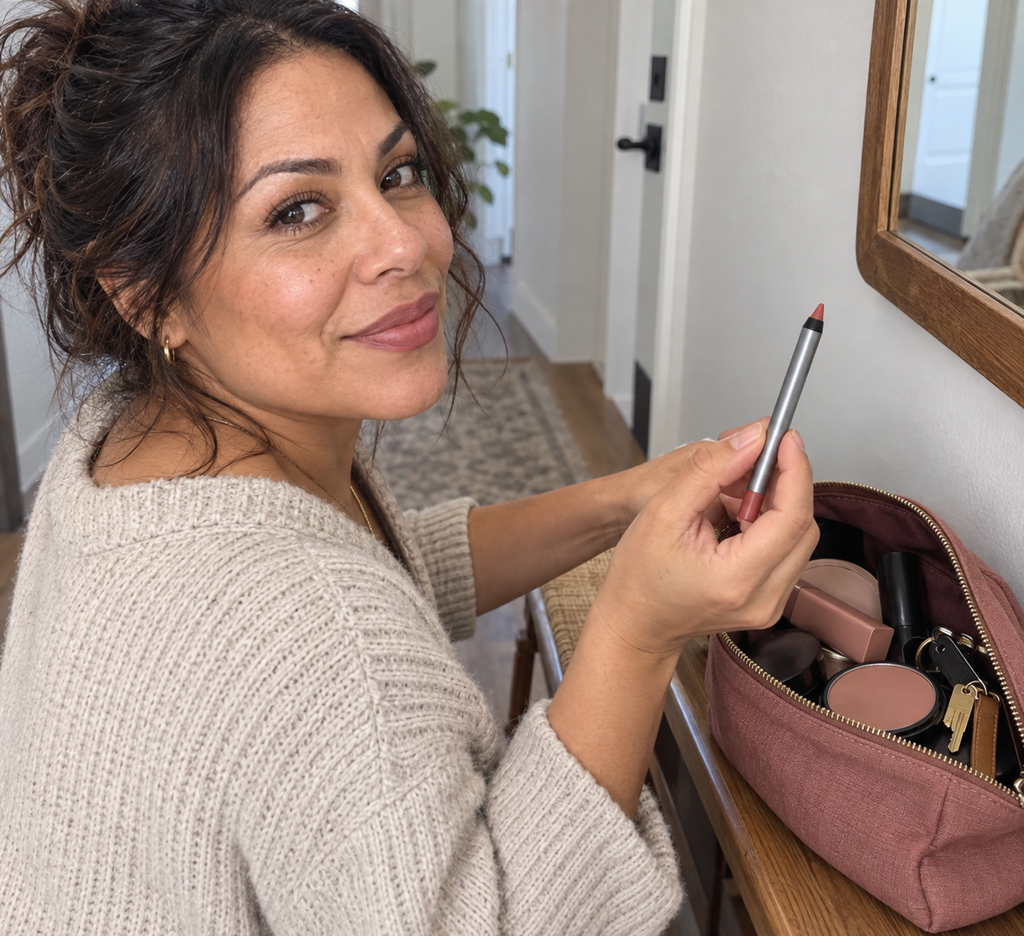
The pencil is slim enough to keep in a small makeup pouch. The color payoff was easy to control with pressure. The learning curve was short and reasonable.
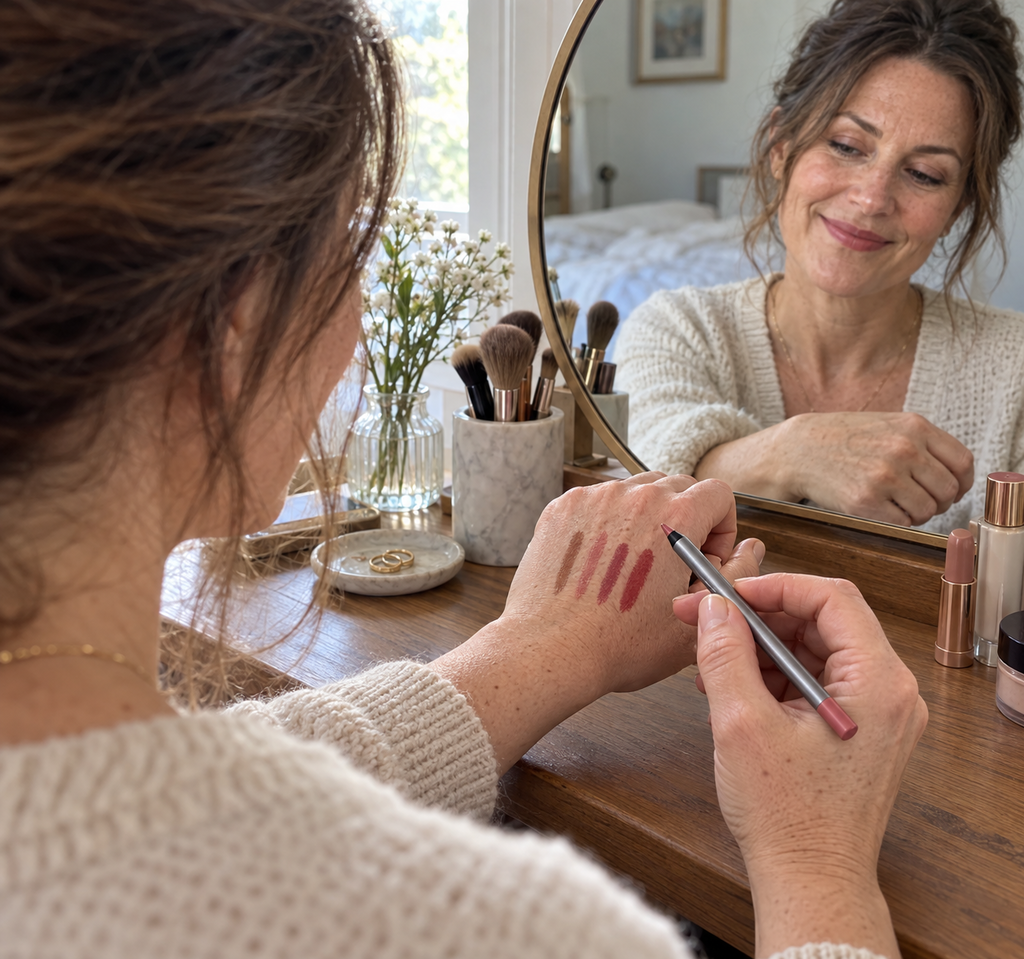
I used short strokes instead of drawing one hard line. A quick sharpen restored the fine point I prefer. Overall, it is straightforward, versatile, and easy to blend. I noticed the convenience most on a busy morning.
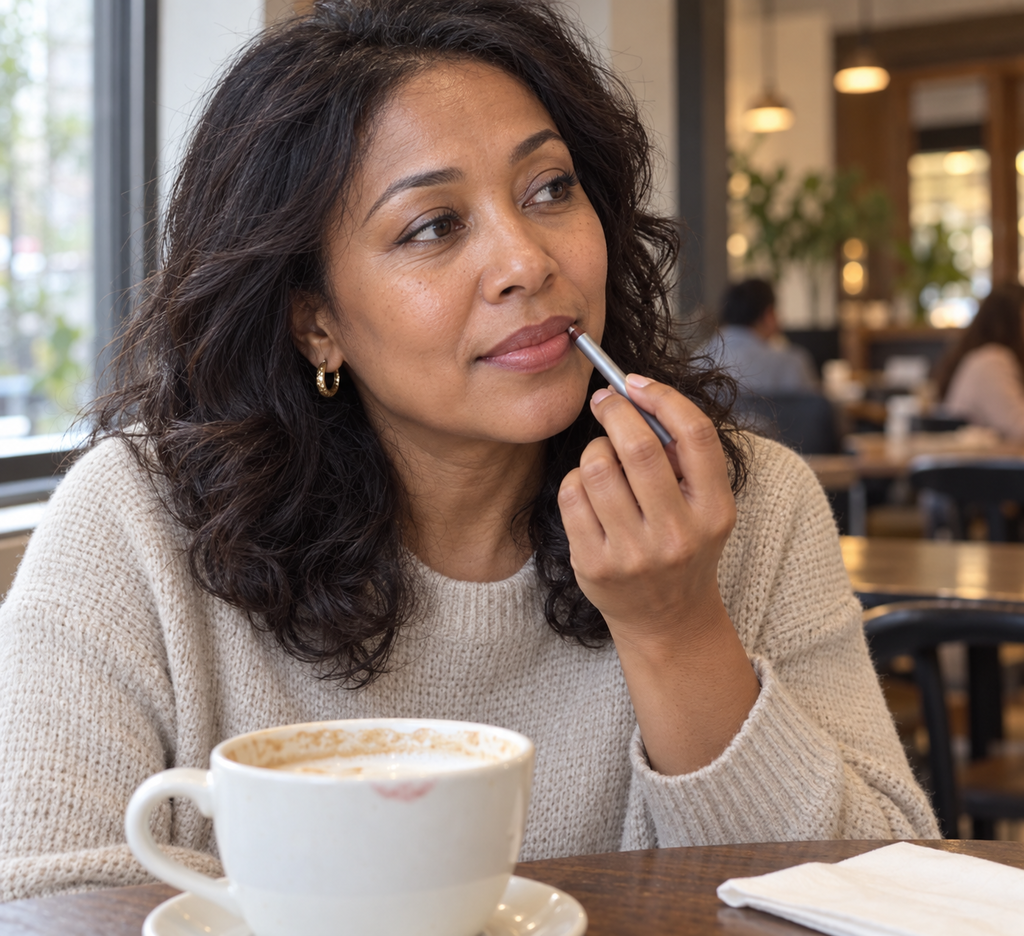
The formula blended before setting, which made small corrections easy. This is an easy pencil to use for everyday definition. It was straightforward to put away afterward.
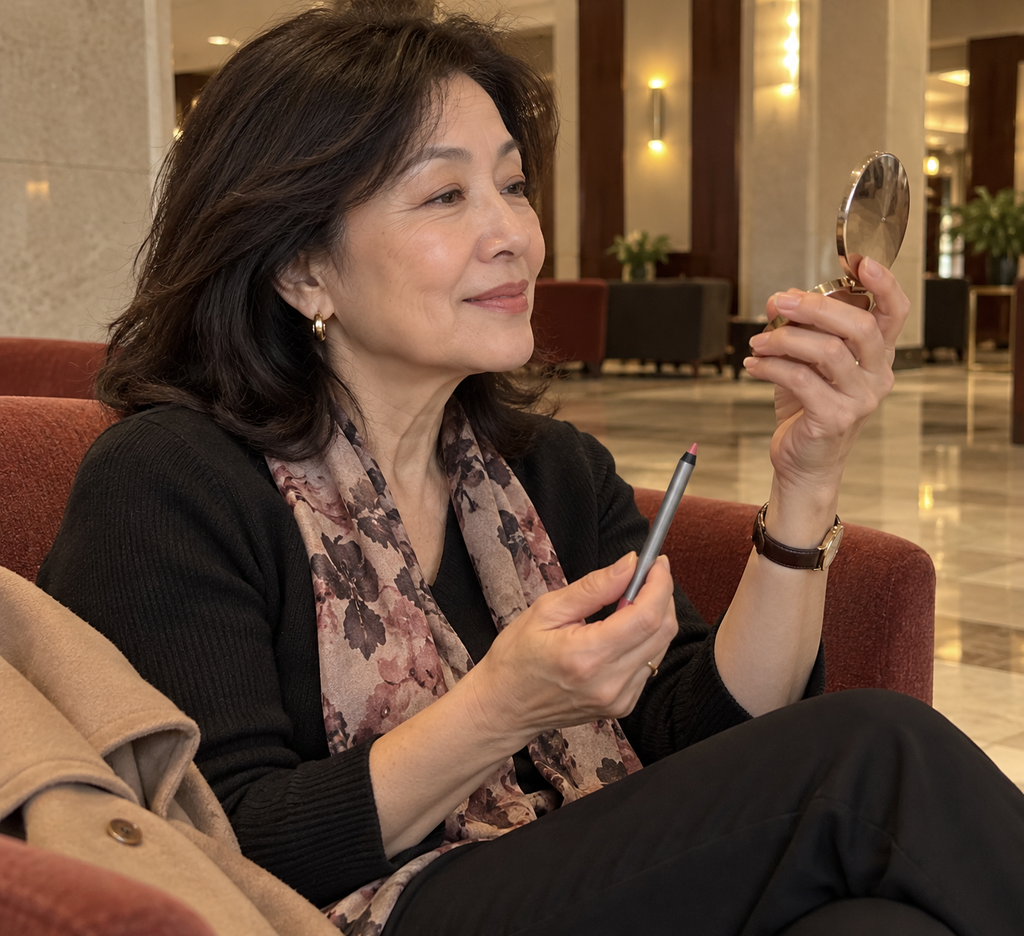
I filled in my whole lip before adding a little balm. Four stars because I needed one small touch-up after eating. The materials felt appropriate for regular handling.
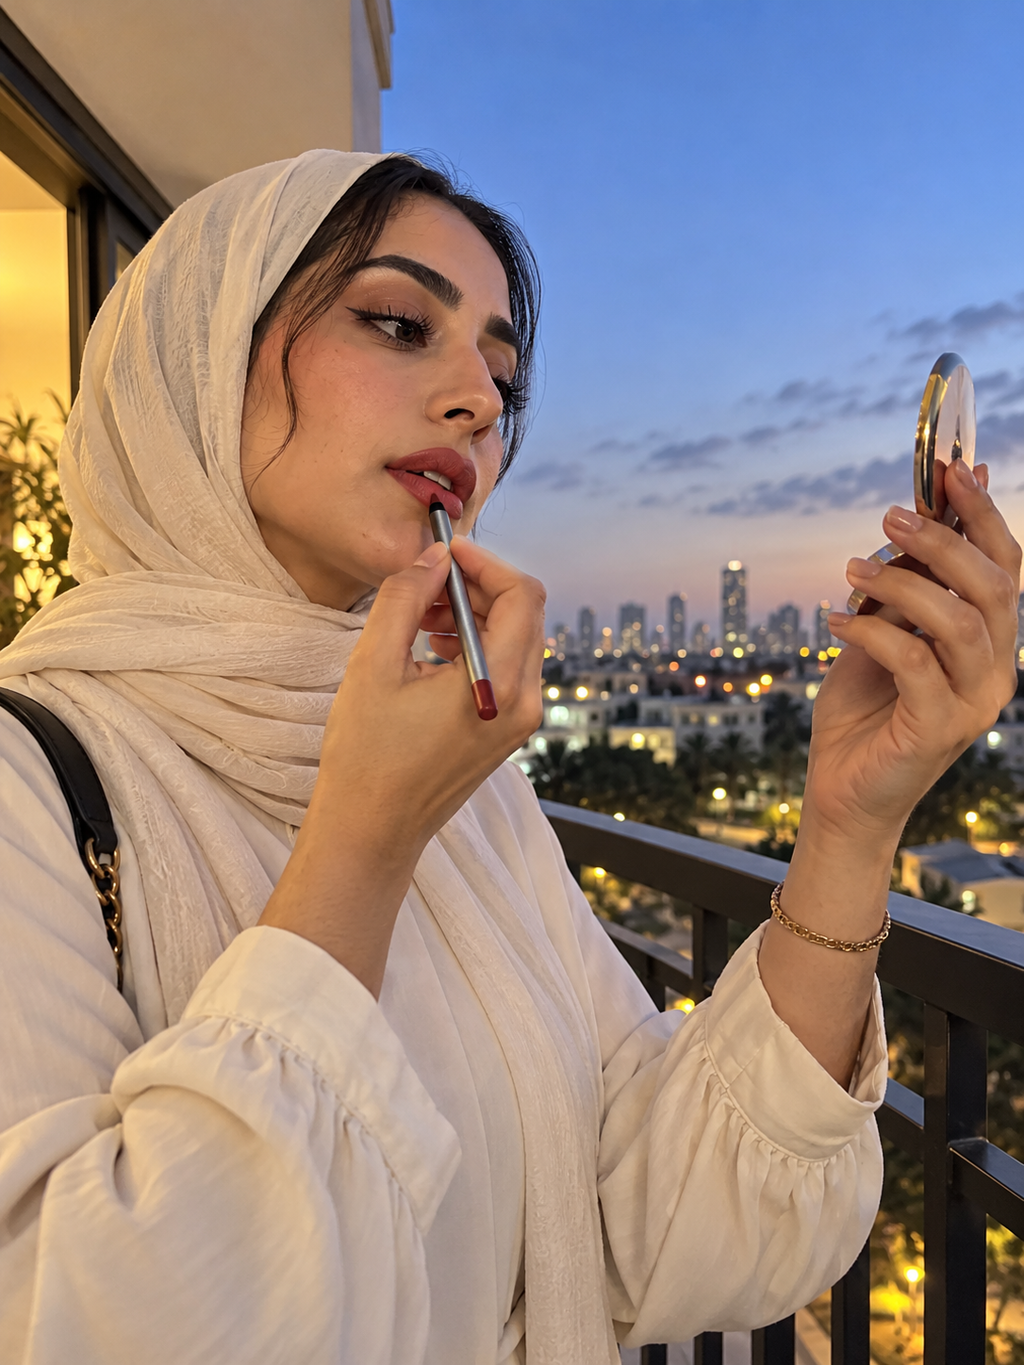
I traced just outside my natural lip line and softened the edge with a fingertip. I could create both a crisp edge and a softer blurred look. The color and control make it useful beyond one makeup style. Nothing about the process felt unnecessarily complicated.
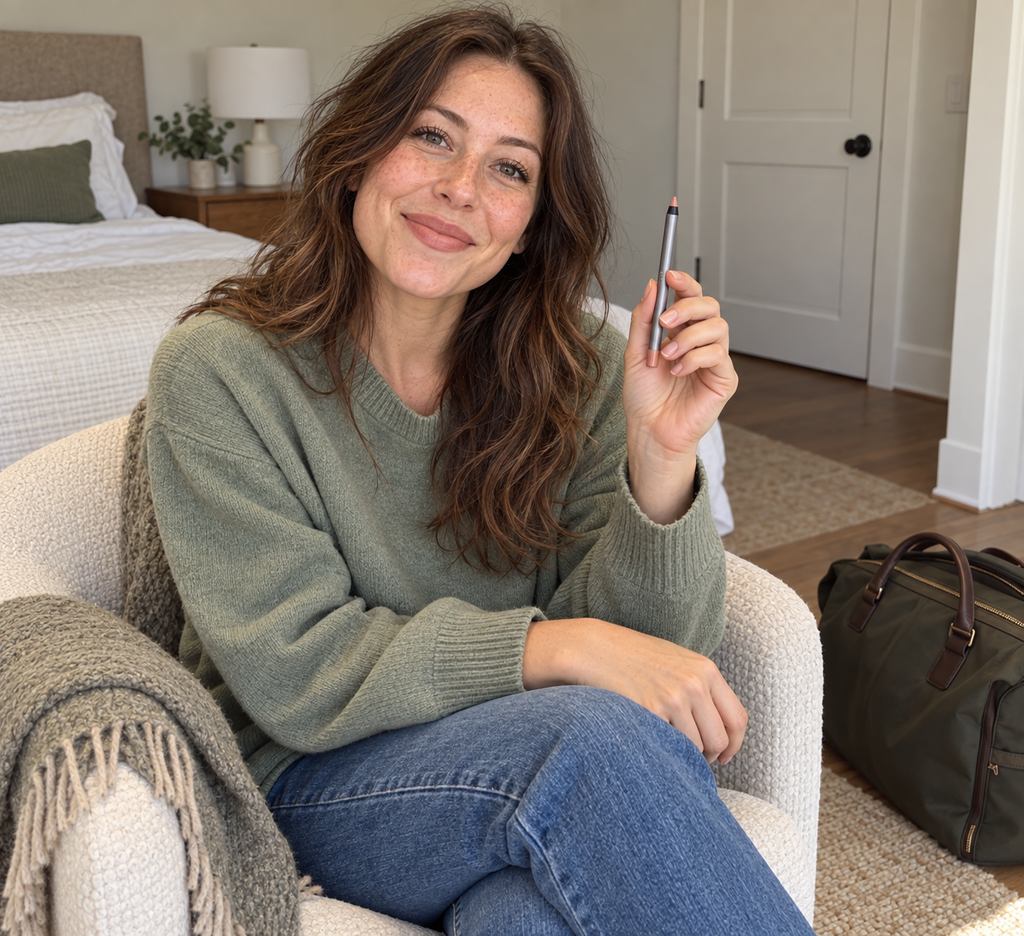
The shade had enough depth to define without turning harsh. It has earned a regular place in my makeup bag. The design was thoughtful in small but useful ways.
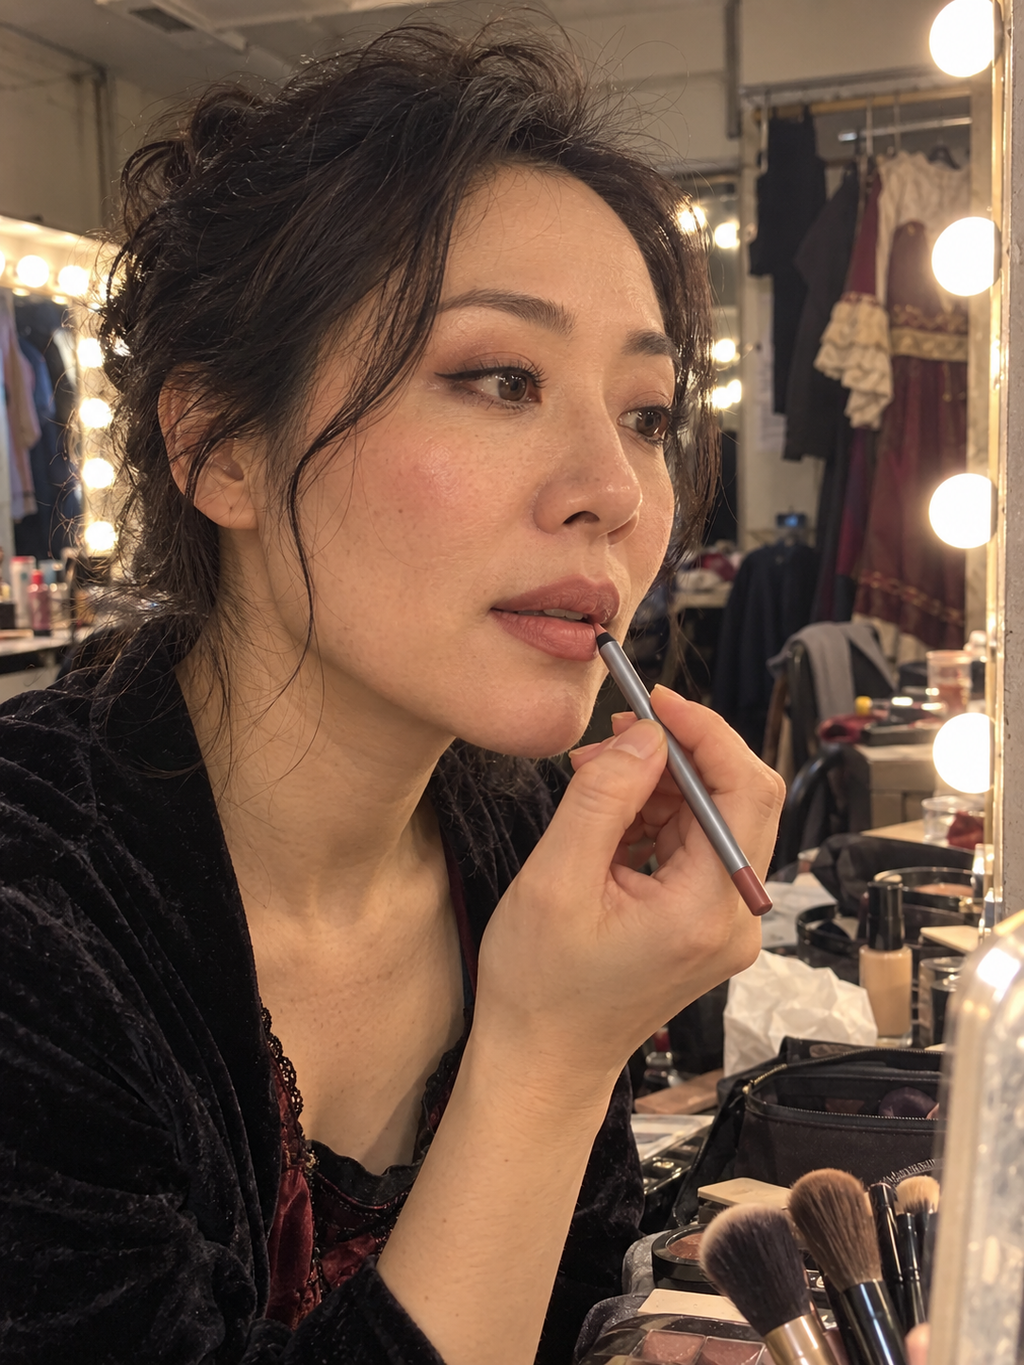
I used the red shade under lipstick and it helped keep the edge tidy. I would pick another shade from the range. It worked well for the specific job I bought it for.
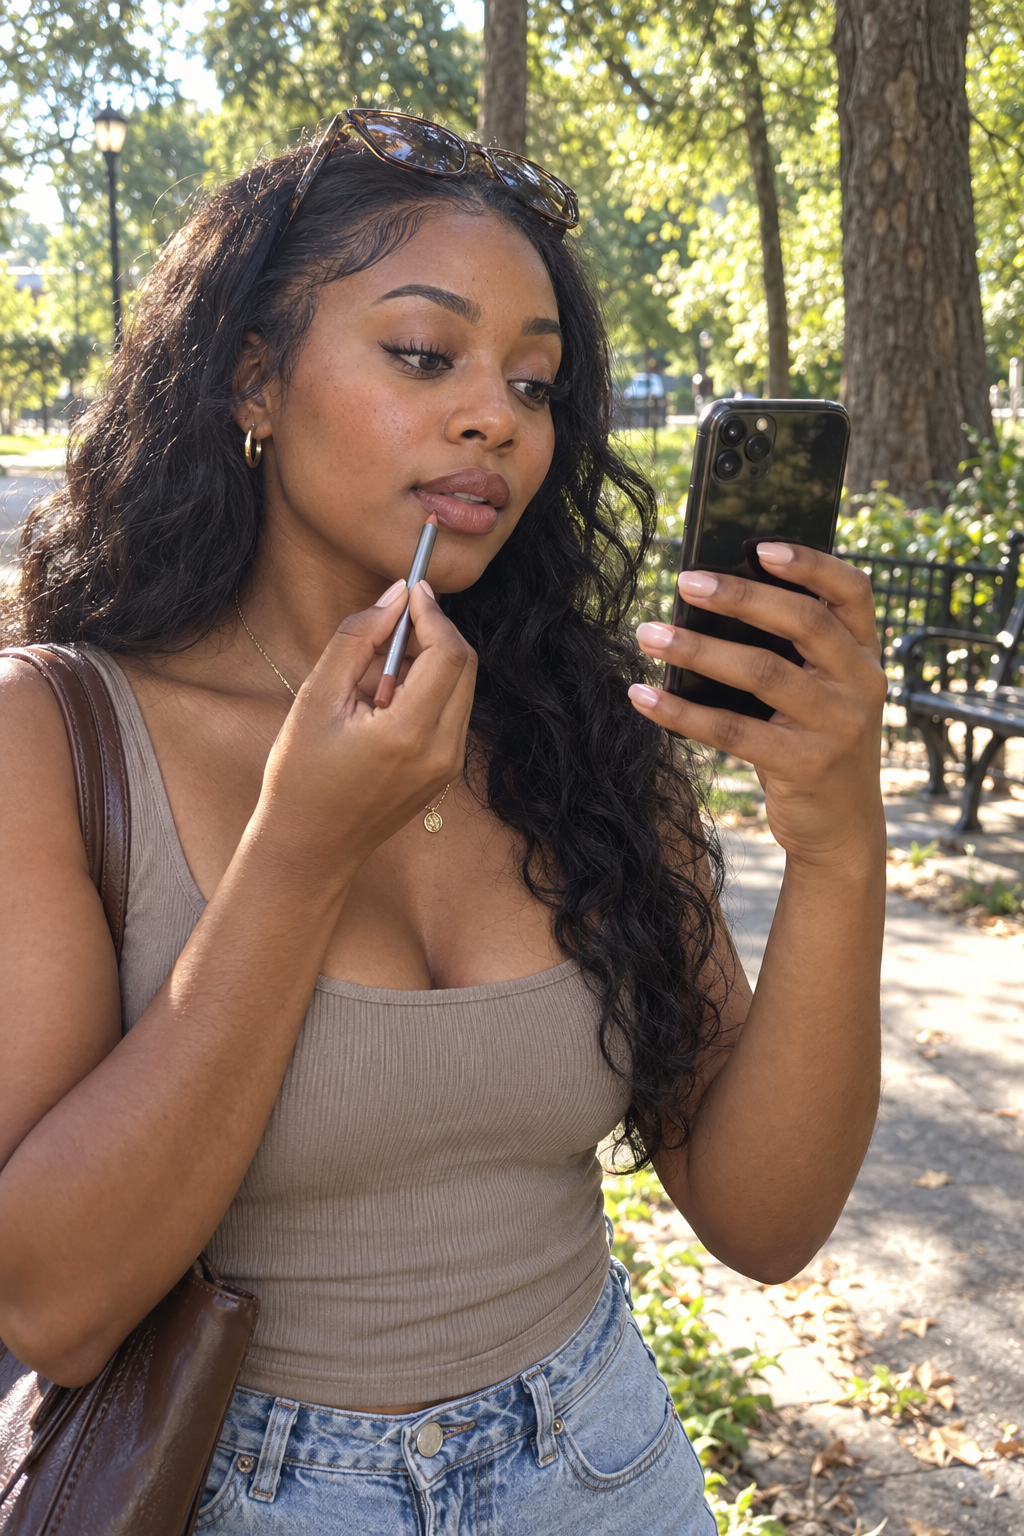
The muted brown shade paired well with several nude lipsticks. The line stayed neat through coffee, though I touched up after lunch. The second use felt even quicker than the first.
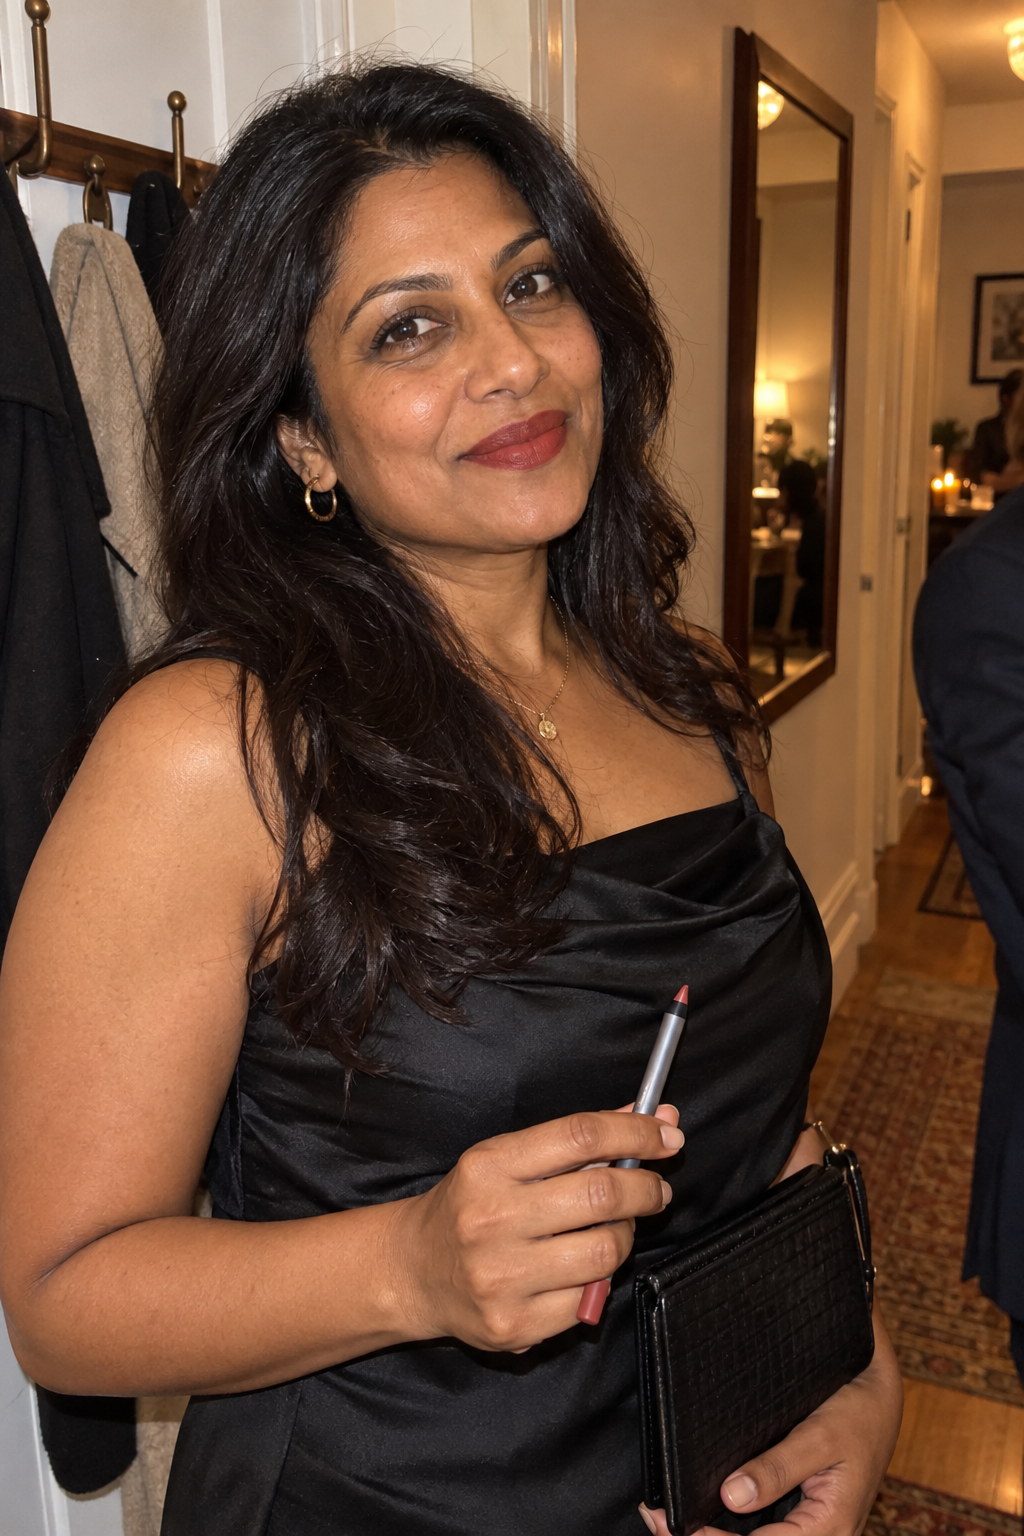
The texture showed real lip lines rather than looking artificially flat. It works equally well with gloss or lipstick. This was easy to add without changing my whole routine.
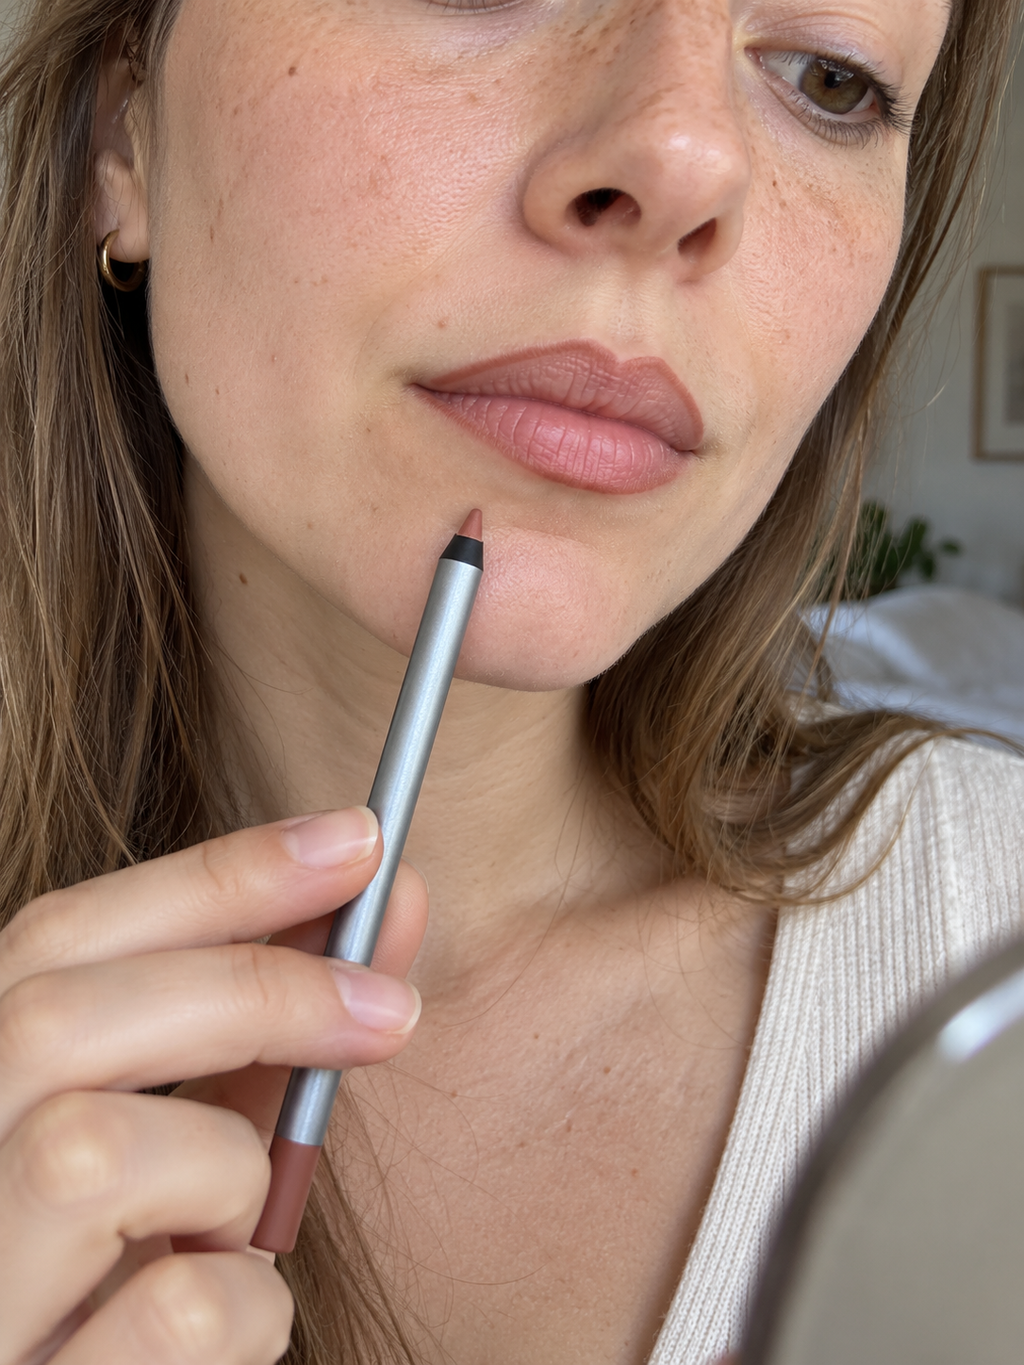
Before-and-After Comparison Photos

